CA1
Part 7 -Using CAD to design photo frame
Part 7 of CA1 required each team member to design different parts of a photo frame.
Within my group, we decided that:
Isabelle - Transparent acrylic
Me (hannah) - Frame
Hong Yi -
Hariz - Acrylic backing
How I designed the frame of the photo frame:
For our group's photo frame, we decided to go with the Lewis design as the border:

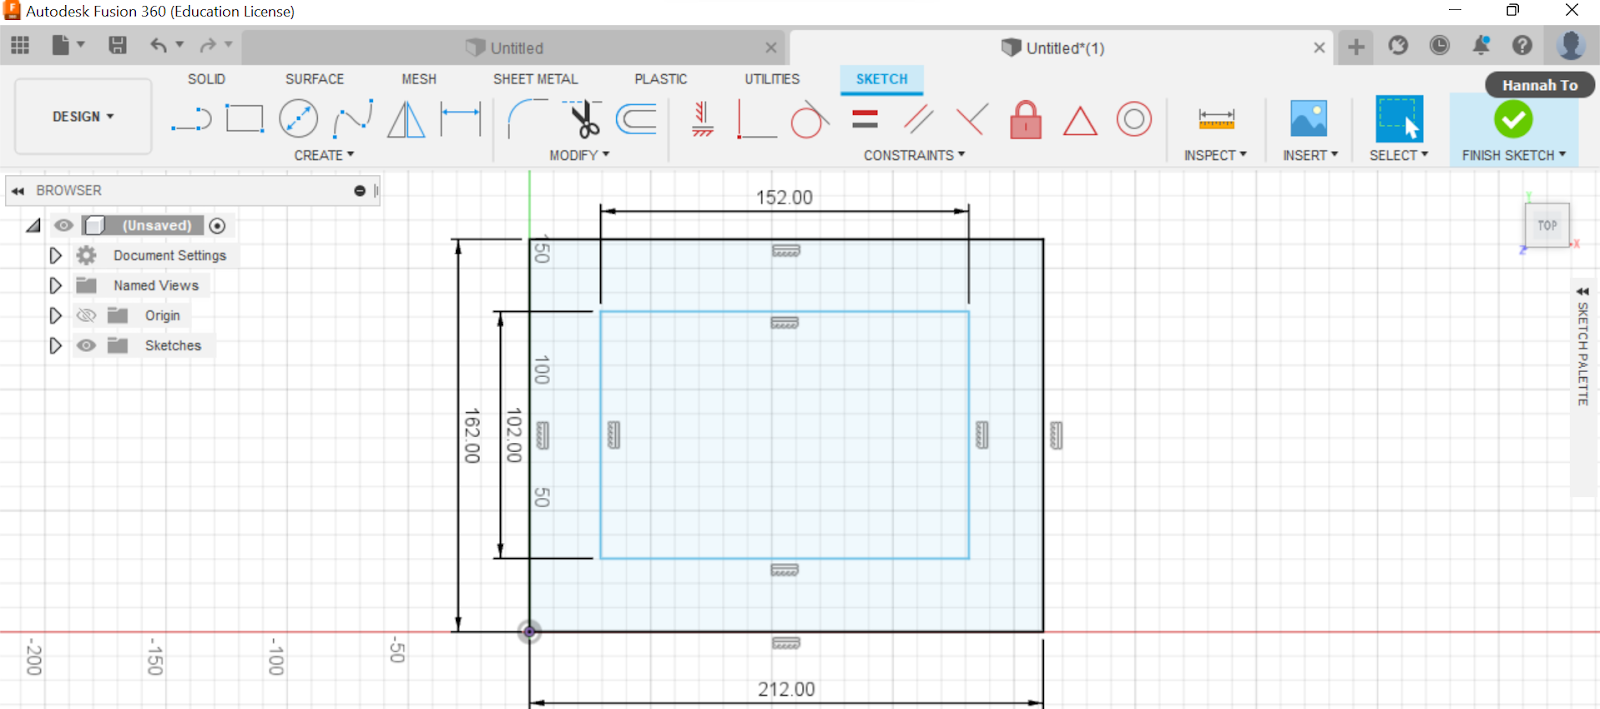
These are the steps I took to design the frame:
First, I made the other rectangle using the 2-point rectangle feature:

2. I created another 2-point rectangle using the dimensions for the photo. (102mm X 152mm). This would separate the frame and the photo


5. Since the photo is 2.5mm thick, the frame has to be 3mm in order to hold the photo properly. I clicked extrude and selected the border, then entered 3mm.


Comments
Post a Comment