Blog 4
For Practical 5, we are tasked with designing and 3D-printing a device to prevent a quail egg from breaking after dropping it from a certain height. In this blog, I will be documenting how my teammate (Isabelle) and I came about with the device and how we managed to print it out.
Here are the contents:
1. Our initial design idea
2. Our final design idea
3. Measurements of the design
4. Steps to designing the device in Fusion360
5. 3D-Printing the device
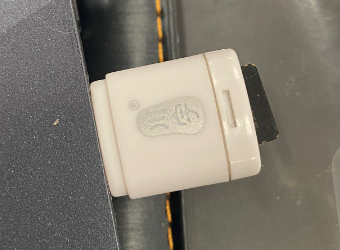
6. Pictures and videos of the printed device
7. Reflection
1. Our initial design
We were able to use GrabCAD to look for designs to use for our device. For our first idea, we planned to make a spherical object to hold the egg in. On the outer surface of the sphere, we would add "springs" so that the sphere will bounce upon being dropped onto the ground. This will allow the sphere to absorb most of the impact instead of the egg.
A picture of our initial design:

After designing the device on Fusion360, we headed over to the lab for printing. However, to our dismay, the "springs" that were supposed to support the egg were too thin and they broke easily. Furthermore, it would be hard to insert the egg inside the sphere while including all the springs inside and outside the sphere.
We decided that it would be easier to design and print a box to hold the egg in. Instead of just making a hollow box to put the egg in, we agreed to make layers within the box to prevent the egg from absorbing all the impact from the drop.
This is the design we based our device on:

As shown in the design above, there are "pins" holding the egg in place in the inner box. To modify it, we chose to use 2 pins on each side of the outer box that will be connected to the inner box. In the inner box, the egg will be slotted inside. We also created a slot on one side of the inner box to prevent the egg from slipping and falling out.
THE REASON WHY WE CHOSE THIS DESIGN WAS THAT...notice how eggs usually come in cartons? Cartons are in the shape of a box. Hence, we decided to base the shape of our design on a box😅
3. Measurements of the egg protector
The average size of a quail egg is 35mm in length and 27mm in diameter, and we used these values to determine the size of our boxes. The inner box should be big enough such that the egg would be "snug" inside, but we also had to give some leeway in case the quail egg that we got differed in size. We also modified the design in a way that we would not have all those black "pins" going across the inner box. We decided to just stick with 4 rods that will connect the inner and outer box, as well as support the egg in the inner box.
Inner box:
Length: 40mm by 40mm
Diameter of the hole where the rod is inserted: 10mm
Width of the box: 5mm
Other than 2 faces of the box having the hole (for the rod), the other 2 faces would be hollow. We decided to make 1 face completely solid. This leaves the last face. For this face, we created a slot that could be slid across the opening of the box. This makes it easier for us to put the egg inside and cover the box so that the egg will not slip out.
Length of slot: 30mm
Width of slot: 2mm
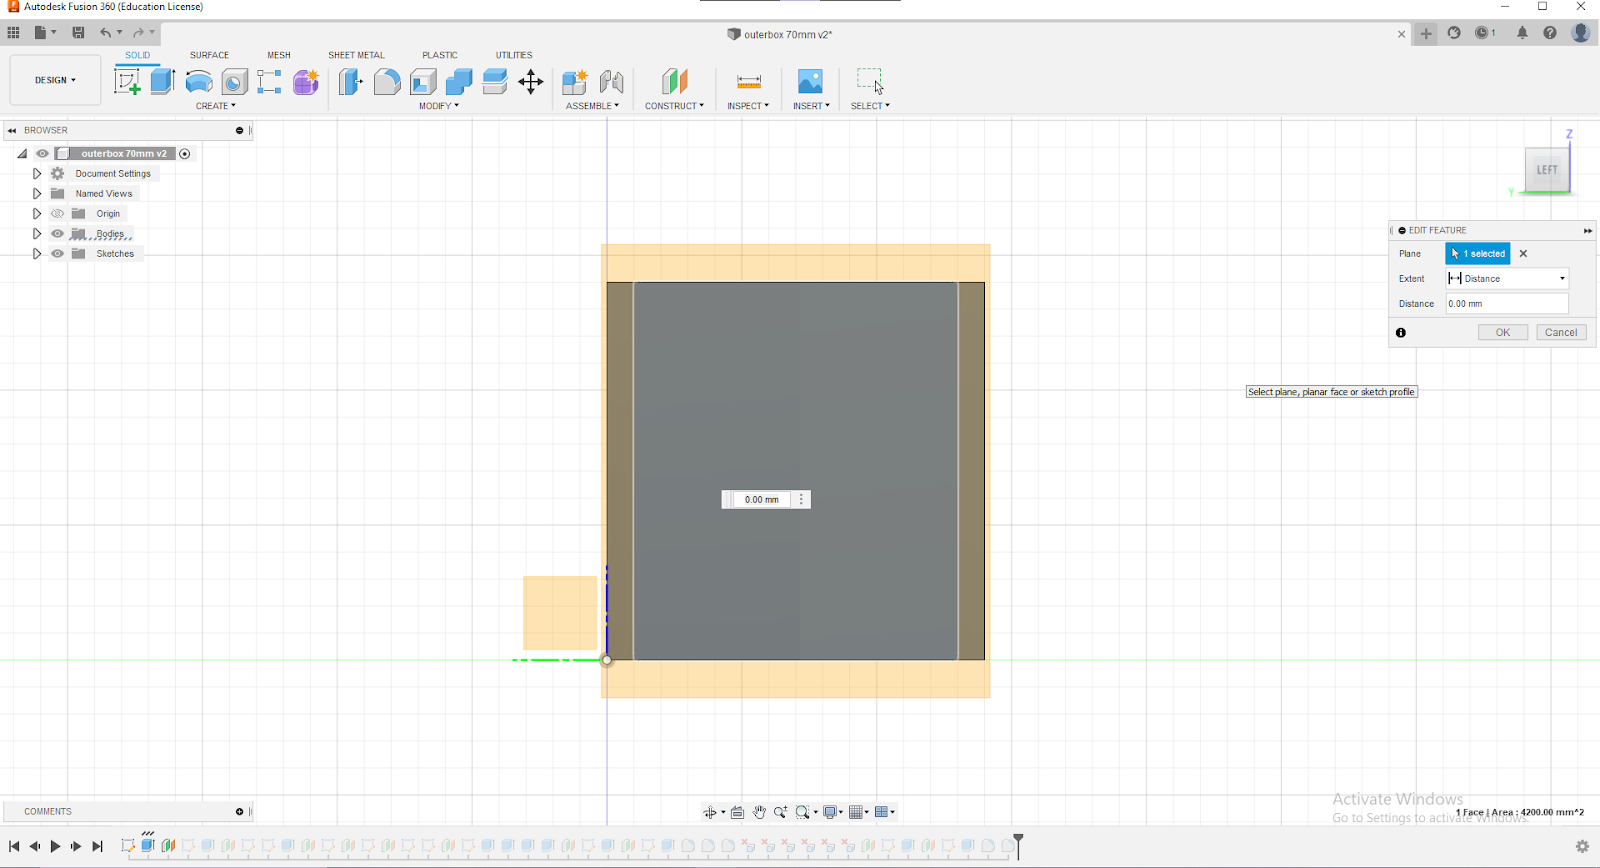
Outer box:
We did not want to make the outer box too big as it will defeat the purpose of keeping the egg secure. Using bigger dimensions would also mean a longer printing time.
Length: 70mm by 70mm
Width: 5mm
Diameter of hole (for the rod): 9.7mm
Length of rod: 35mm
4. Steps to designing the egg protector on Fusion360
Let's start with learning how to replicate the inner box!
We will learn how to create these designs!
For the other parts of our design, you can refer to Isabelle's blog for the embedded 3D design!😋
Now, let's move on to the steps used to design the different parts of the structure
4.1 Inner box (designed by Hannah):
1. Using the box at the top right-hand corner, navigate to the "TOP" face


3. select the plane

4. Hover over "create" > "rectangle" > "2-point rectangle"
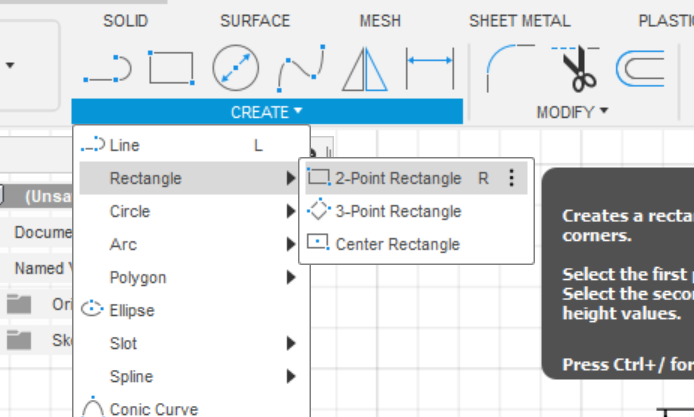
5. Key in "40mm" for the length on both sides

6. click the "offset" function

7. select the border of the square
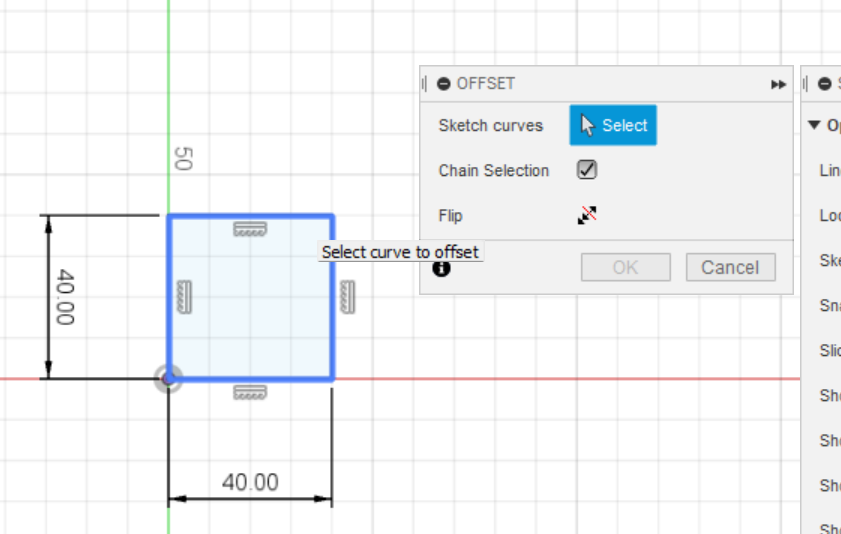
8. key in offset position as "-5mm"


11. Select the "front" face of the box


13. click "finish sketch" > create hole

14. click on the circle > key in depth "50mm". this is so that the hole will be able to cut through the whole block that has a length of 40mm.


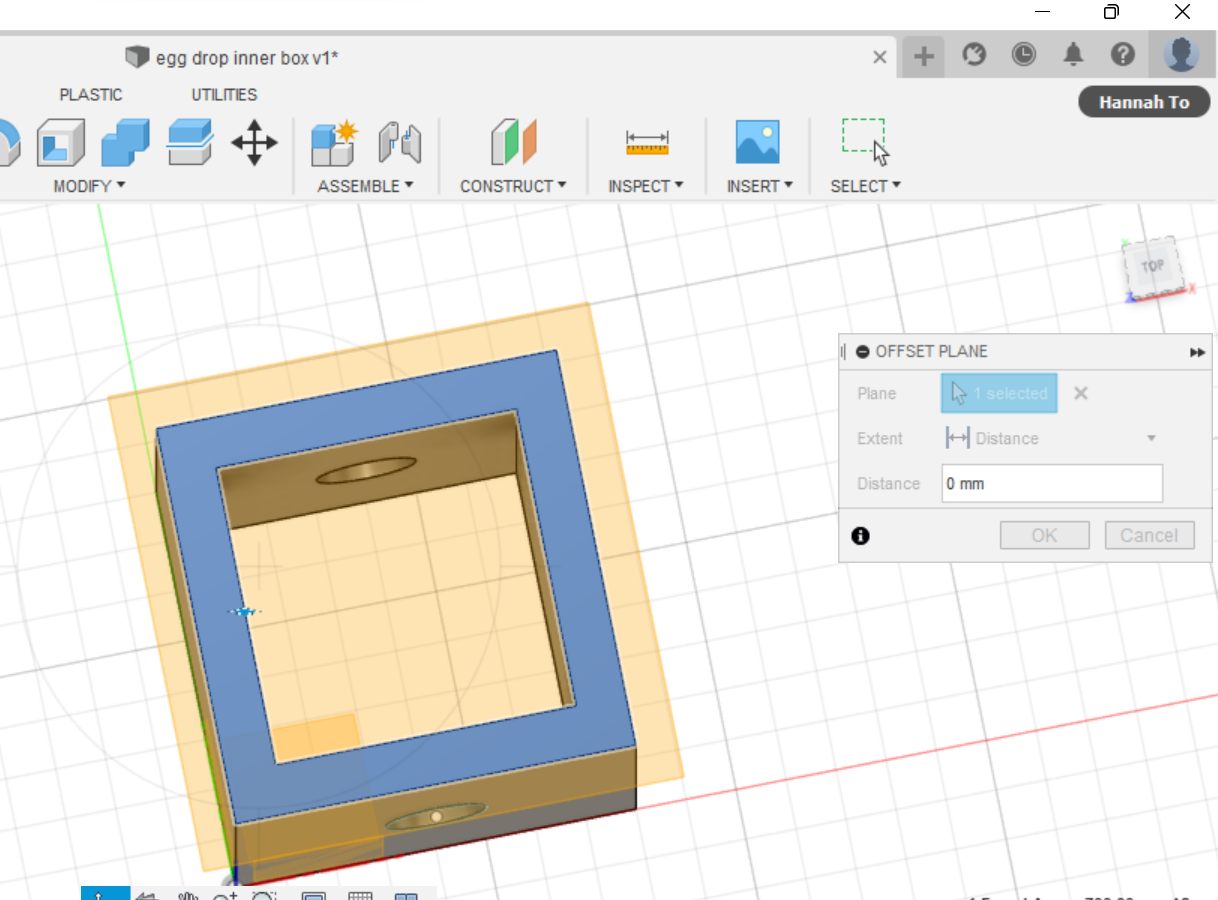
15. click construct > offset plane > distance of "0mm"


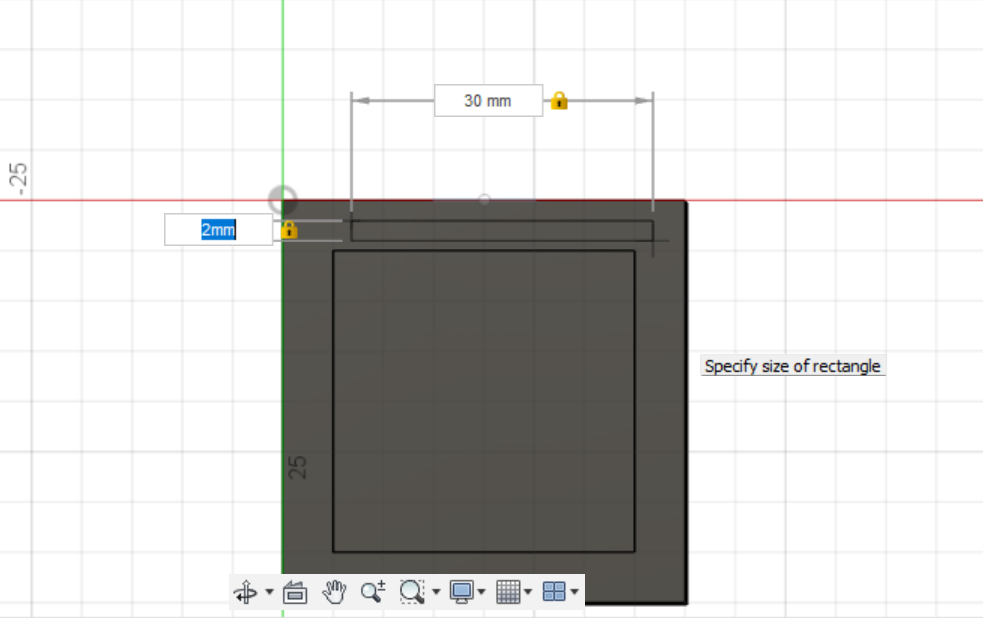
17. on one length of the hollow part of the box, create sketch > create rectangle > key in "30mm by 2mm"
remember to centralize the rectangle!

18. click "finish sketch" > click on slot opening > extrude "45mm"


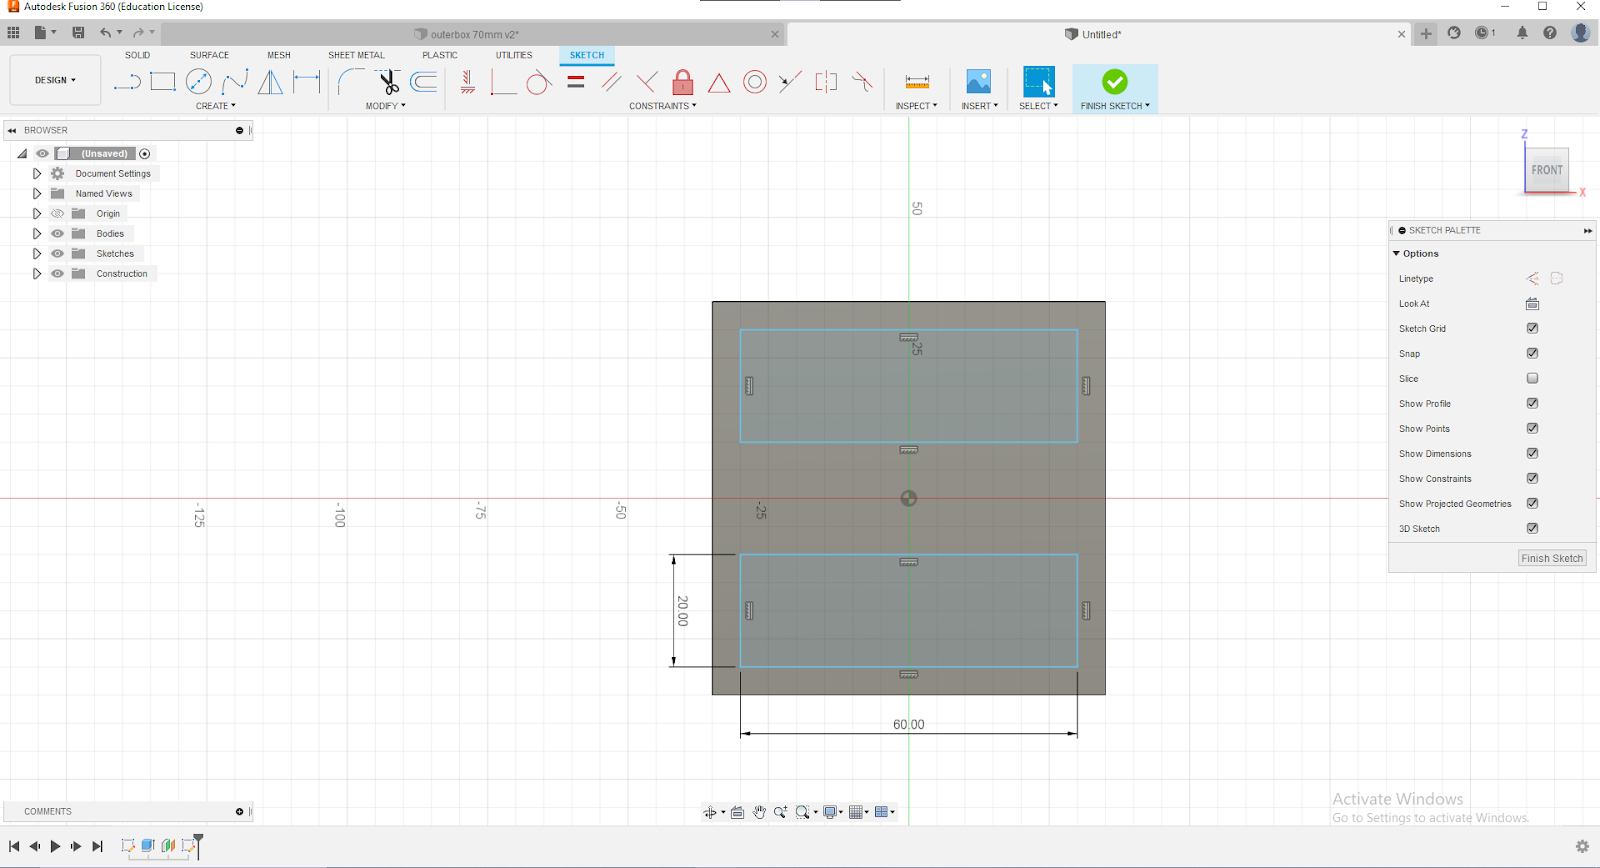
Create sketch > 2- point rectangle > 70mm by 70mm
inner offset of 5mm


Extrude by 70mm
Create a plane on one surface of the box

5. Place first point diagonal from corner, create a 60 mm by 20 mm rectangle. Repeat for bottom half.
Create a 10mm diameter circle in the middle of the plane
Extrude > Cut 70mm
Repeat on the other side of the surface
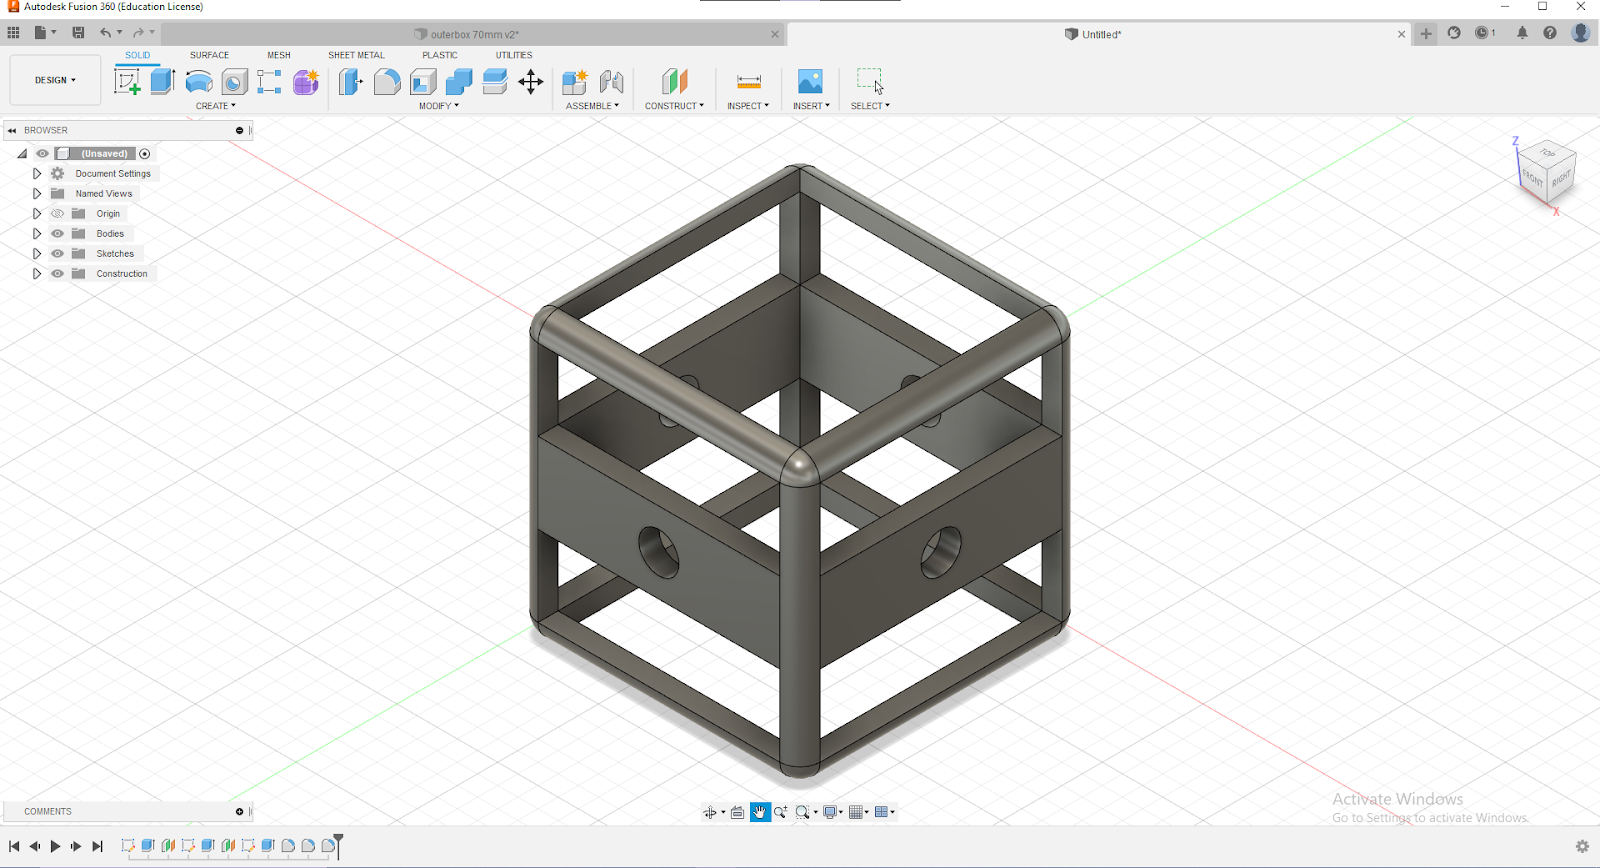
Fillet 5mm of the sides of the box


Final product
Click create sketch

Select create circle
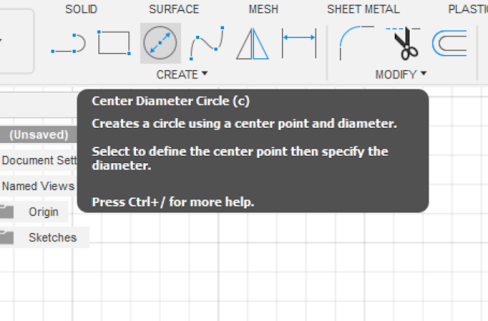
Enter diameter “9.7mm”

“Finish sketch”

Click “extrude” > Extrude "35mm"

Create rectangle > key in “30mm” by “45mm”

Click “finish sketch” > extrude by “2mm”
Choose the “line” function under Create
Create a rectangle “54mm” by “10mm” on top of the breadth of the first rectangle.

4. Click “finish sketch” > extrude by “2mm”

Right click on the body

2.Save as mesh
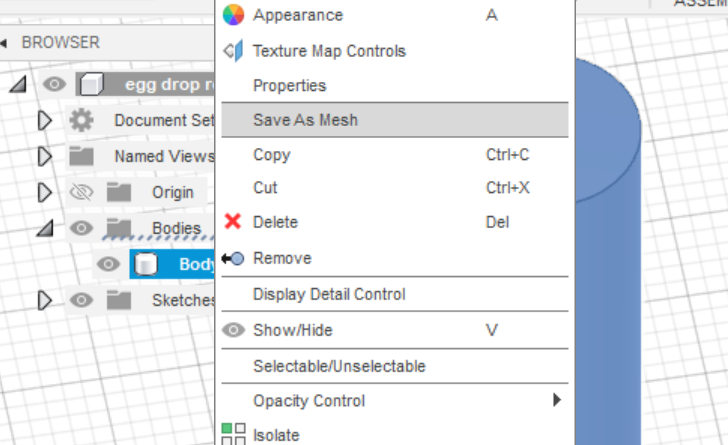
3. Click “ok”

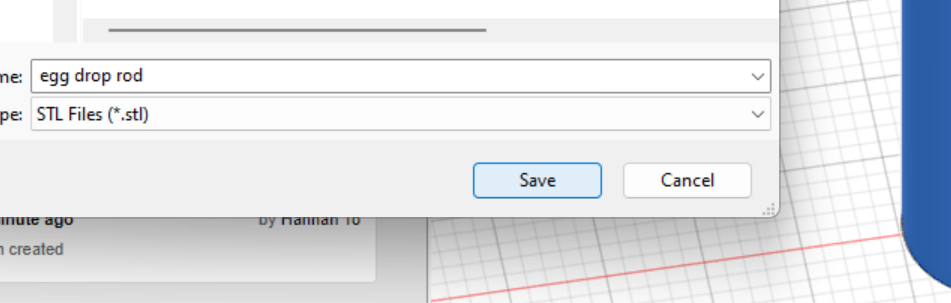
4. Save as STL file
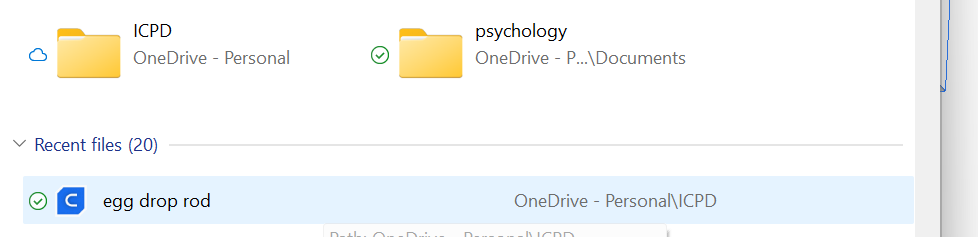
Open files, open the design
5. Choose the printer

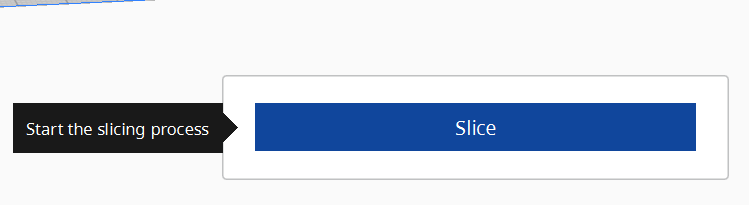
6. Key in print speed “100m/s”
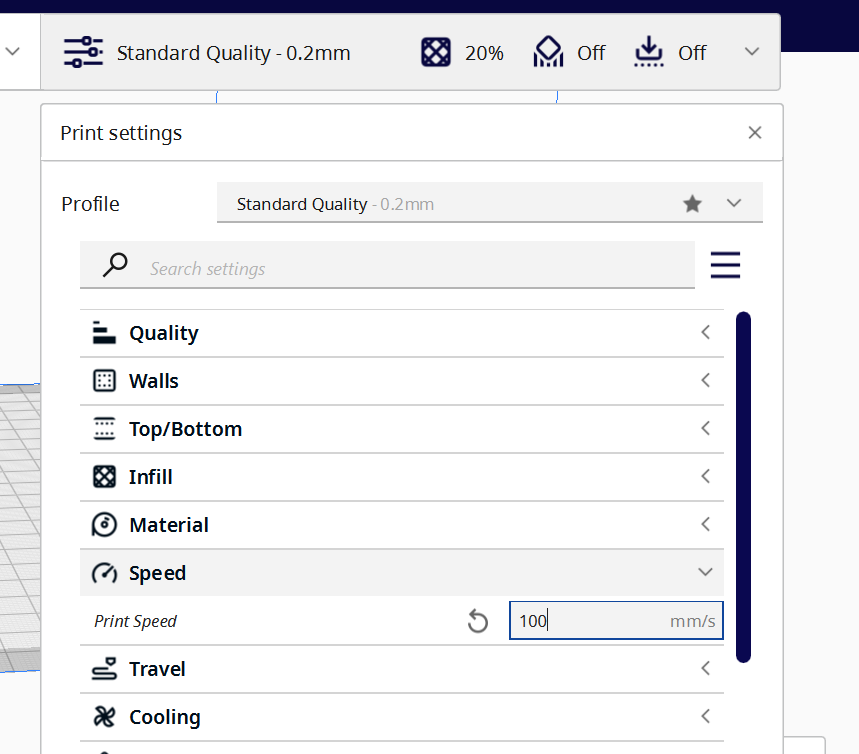
7. Slice
8. Inset SD card
9. Save to disk
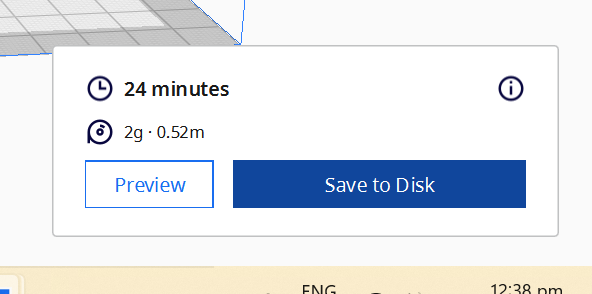
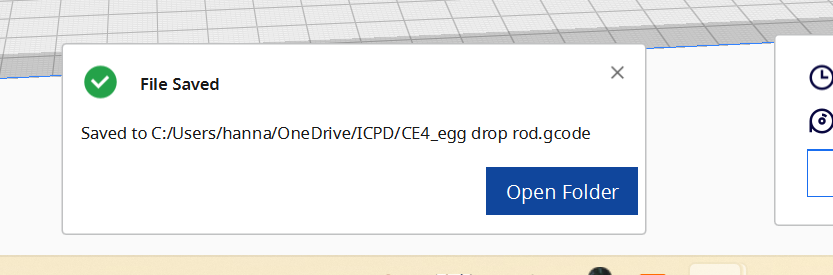
10. Save as gcode

11. Open folder
12. Right click > send to > USB drive


Go back to home > select print > select the file you saved it as

Once finished, start printing!


Planning and starting early allowed us to have ample time to make the necessary modifications to our design. We were able to plan ahead and schedule which day we were free to print the different parts, and still have ample time to file down the parts and assemble them together. This took a lot of time to finish as we had classes that ended late and we were unable to stay back to print on some days. As the printing could take as long as 5 hours, it was crucial that we allocated our time correctly. At first, we wanted to try something challenging and decided to design a sphere for the egg. However, this was very tricky as it would be hard to insert the egg inside and combine all the different parts to the sphere. We then decided to change our design to 2 boxes holding the eggs. This made me realize the importance of being realistic and choosing a design that we will be able to work with.
Through this journey, I was able to hone my skills in designing on Fusion360. This was pivotal as I will have to use the software to design other devices in the future, despite being a complete amateur to the software. Looking online for other sources (like Youtube) on how to use the different functions of Fusion360 allowed me to have a better picture of designing on the software.
Lastly, I should be patient when designing and 3D printing. As this is my first time 3D printing, I am still quite proud of how we managed to prevent the egg from breaking. As someone who rushes to complete assignments, this experience made me realize how much effort goes into designing something and printing it out, and I cannot expect it to go smoothly and swiftly. I also had fun working with Isabelle as I realized that she is very knowledgeable when it comes to designing using CAD. We were able to pitch different ideas to each other and come to a consensus, and this helped me to enhance my sense of creativity as well.
Comments
Post a Comment